Neovim on High Performance Computing Clusters
For my workflow, I jump from several different servers and high performance computing (HPC) clusters for dataset management, processing, and deep learning applications leveraging graphics processing units (GPUs). In the past, I would use Visual Studio Code and Remote SSH to access these endpoints, modify code, and execute commands. However, I recently fell in love with the enjoyment, simplicity, and speed of Neovim.
There’s one problem — enterprise servers, especially for HPC workloads, often do not support the latest versions of Neovim with all the crucial features like language server protocols and community plugins. Fortunately, HPC research clusters and many enterprise server services support a container platform called Apptainer (formerly Singularity), which enables users to “run complex applications on HPC clusters in a simple, portable, and reproducible way”.
In this tutorial, I’ll show you how to setup the latest version of Neovim and LazyVim for a full-fledged IDE on your own HPC cluster ecosystem.
Checking for the Apptainer Module
If you’re this far into the tutorial, I’m going to assume that you already have access to your University’s HPC resources, and you know how to SSH into a login node. However, feel free to email me or comment below if you need any help!
After successfully connecting to a login node through SSH, you can check if Apptainer is available with apptainer --version. Below, I’m connected to the Purdue Anvil cluster and Apptainer is already loaded from the login nodes.
Some HPC clusters will not have the Apptainer module available on login nodes (e.g., PACE Phoenix at Georgia Tech). You will have to connect to a computing node before proceeding and use
module load apptainerto load the module.

Creating a Definition File
In order to create a custom container for the Apptainer platform, you need read from a custom definition file (.def), which is like a script of packages and parameters that Apptainer will execute and install while creating your container. Below, I have a predefined .def file that installs all the necessary dependencies and installs Neovim version 11.5.
Bootstrap: dockerFrom: ubuntu:24.04
%post # --- 1. System Dependencies --- export DEBIAN_FRONTEND=noninteractive
# Install curl/ca-certificates first to set up repos apt-get update && apt-get install -y curl ca-certificates gnupg
# --- 2. Set up Node.js 22 Repository --- mkdir -p /etc/apt/keyrings curl -fsSL https://deb.nodesource.com/gpgkey/nodesource-repo.gpg.key | gpg --dearmor -o /etc/apt/keyrings/nodesource.gpg echo "deb [signed-by=/etc/apt/keyrings/nodesource.gpg] https://deb.nodesource.com/node_22.x nodistro main" | tee /etc/apt/sources.list.d/nodesource.list
# Update again and install base tools + Node.js 22 # Added python3-venv (crucial for python dev) apt-get update && apt-get install -y \ nodejs \ python3-venv \ wget \ git \ build-essential \ unzip \ tar \ gzip \ locales
# Fix locale (critical for nvim icons/TUI) locale-gen en_US.UTF-8
# --- 3. Install Neovim v0.11.5 --- NVIM_VER="v0.11.5" echo "Installing Neovim $NVIM_VER..." mkdir -p /opt/nvim curl -LO "https://github.com/neovim/neovim/releases/download/${NVIM_VER}/nvim-linux-x86_64.tar.gz" tar -C /opt/nvim -xzf nvim-linux-x86_64.tar.gz --strip-components=1 rm nvim-linux-x86_64.tar.gz
# --- 4. Install Ripgrep (rg) --- RG_VER="14.1.0" curl -LO "https://github.com/BurntSushi/ripgrep/releases/download/${RG_VER}/ripgrep_${RG_VER}-1_amd64.deb" dpkg -i ripgrep_${RG_VER}-1_amd64.deb rm ripgrep_${RG_VER}-1_amd64.deb
# --- 5. Install fd (fd-find) --- apt-get install -y fd-find ln -s $(which fdfind) /usr/local/bin/fd
# --- 6. Install Lazygit --- LAZYGIT_VERSION=$(curl -s "https://api.github.com/repos/jesseduffield/lazygit/releases/latest" | grep -Po '"tag_name": "v\K[^"]*') echo "Installing Lazygit v$LAZYGIT_VERSION..." curl -Lo lazygit.tar.gz "https://github.com/jesseduffield/lazygit/releases/latest/download/lazygit_${LAZYGIT_VERSION}_Linux_x86_64.tar.gz" tar xf lazygit.tar.gz lazygit install lazygit /usr/local/bin rm lazygit lazygit.tar.gz
# --- 7. Install Tree-sitter CLI --- npm install -g tree-sitter-cli
# --- 8. Install Ruff (Linter & Formatter) --- echo "Installing Ruff..." # 1. Get the latest tag (e.g., v0.8.2) RUFF_TAG=$(curl -s "https://api.github.com/repos/astral-sh/ruff/releases/latest" | grep -Po '"tag_name": "\K[^"]*') # 2. Download the official linux-gnu binary curl -LO "https://github.com/astral-sh/ruff/releases/download/${RUFF_TAG}/ruff-x86_64-unknown-linux-gnu.tar.gz" # 3. Extract and move to path tar -xzf ruff-x86_64-unknown-linux-gnu.tar.gz cp ruff-x86_64-unknown-linux-gnu/ruff /usr/local/bin/ruff # 4. Cleanup rm -rf ruff-x86_64-unknown-linux-gnu ruff-x86_64-unknown-linux-gnu.tar.gz
# --- Cleanup --- apt-get clean rm -rf /var/lib/apt/lists/*
%environment export PATH=/opt/nvim/bin:$PATH export LC_ALL=en_US.UTF-8 export LANG=en_US.UTF-8 export XDG_CONFIG_HOME=$HOME/.config
# FORCE INTERNAL COMPILERS export CC=/usr/bin/gcc export CXX=/usr/bin/g++
# Unset host include paths unset CPATH unset C_INCLUDE_PATH unset CPLUS_INCLUDE_PATH unset OBJC_INCLUDE_PATH
%runscript exec /opt/nvim/bin/nvim "$@"
%labels Author User Version 1.2 NeovimVersion v0.11.5 NodeVersion v22.x RuffVersion LatestCopy the code above and paste it into a .def file on the HPC cluster. When you’re done, you should have a file called neovim.def or something similar on the file system of your cluster.

Creating the Neovim Container
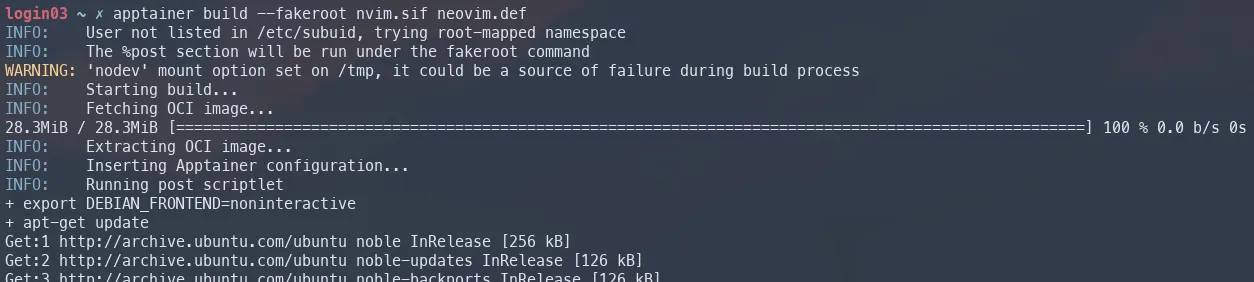
Finally, we can create the Neovim container using Apptainer. Run the following command to read the definition file, create your container environment, install the dependencies, and install Neovim.
apptainer build --fakeroot nvim.sif neovim.def
This may take a while and you should see all the install and execution steps outlined in the neovim.def definition file.
Running Neovim
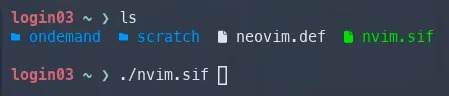
After the build process is completed, you will see a new file in your working directory called nvim.sif. This is a stand-alone executable container that contains the environment outlined in your definition file. In order to run Neovim, you can simply execute the newly created file with ./nvim.sif.
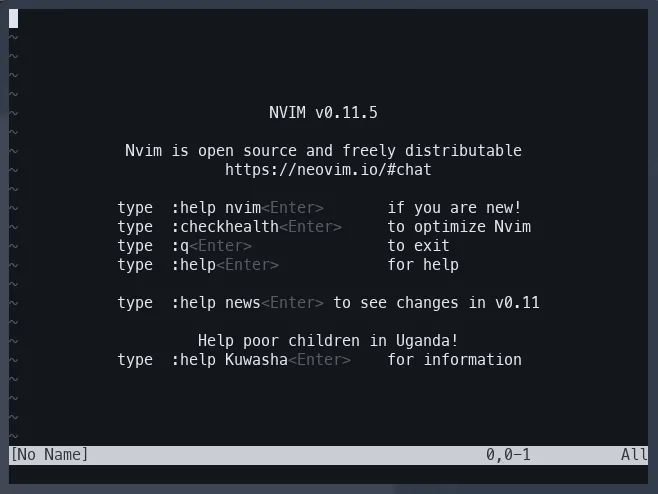
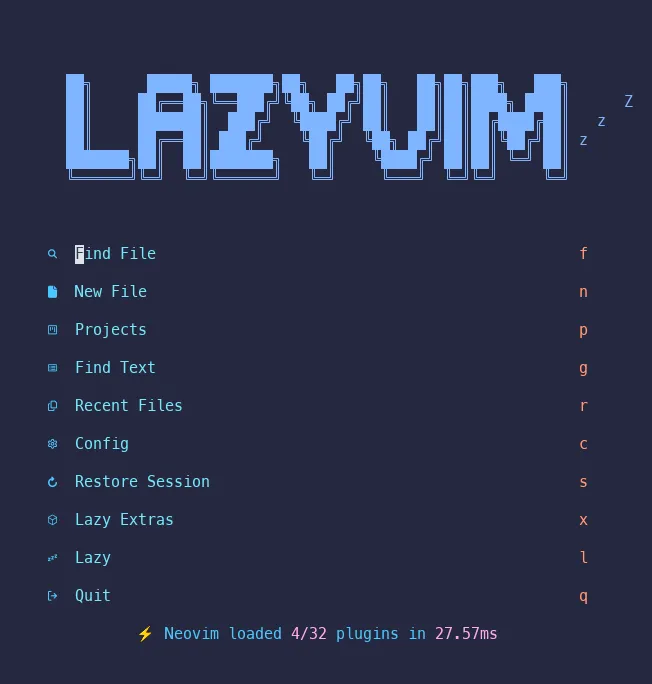
Congratulations! You now have Neovim v11.5 installed on your HPC cluster. Feel free to install your current Neovim .dotfiles. However, for the purposes of this tutorial, we’re going to quickly install LazyVim. To install the LazyVim setup, pull the GitHub repository, and execute the .sif file.
git clone https://github.com/LazyVim/starter ~/.config/nvim && ./nvim.sif